

Overview
The Web Widget allows website visitors to interact with your AI assistant directly through:- Voice conversations: Real-time voice calls in the browser
- Text chat: Messaging interface for text-based interactions
- Hybrid mode: Seamless switching between voice and chat
Accessing Widget Configuration
- Navigate to your assistant’s edit page
- Click the “Web widget” button (yellow/warning color)
- The widget configuration panel opens with live preview
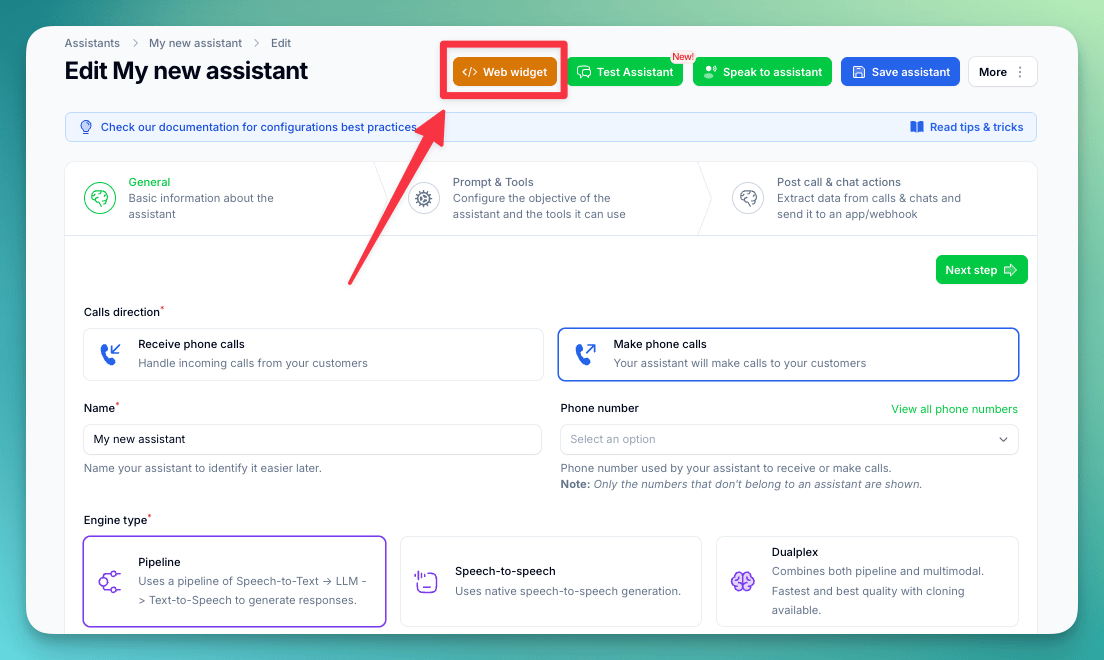
Web Widget is a premium feature. Ensure your plan includes web widget access before configuration.
Widget Modes
Choose how visitors interact with your assistant:Voice & Chat (Recommended)
Users can seamlessly switch between voice and text during conversations. Best for:- Maximum flexibility for users
- Accessibility (voice for mobile, chat for quiet environments)
- Complex interactions requiring both modes
Chat Only
Text-based messaging interface only. Best for:- Customer support and FAQs
- Environments where voice isn’t appropriate
- Lead capture and qualification forms
Voice Only
Real-time voice conversations only. Best for:- Phone-like experience on website
- Voice-first use cases
- Hands-free interactions
Configuration Options
General Tab
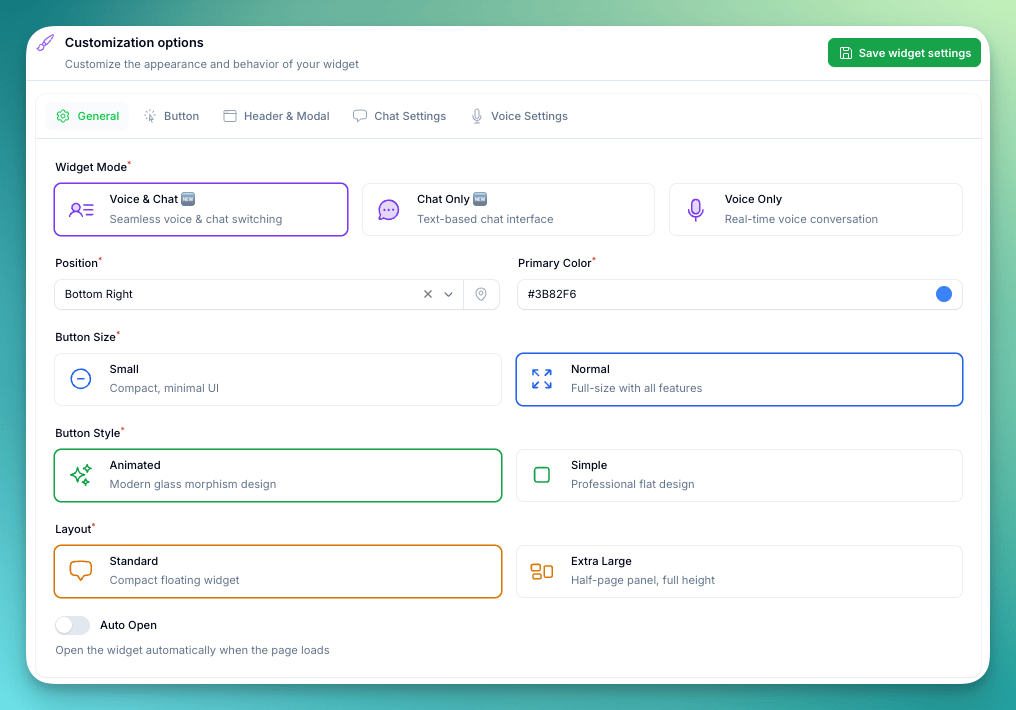
- Standard: Compact floating widget suitable for most use cases
- Extra Large: Half-screen panel on desktop, full-screen on mobile — ideal for detailed conversations
Button Tab
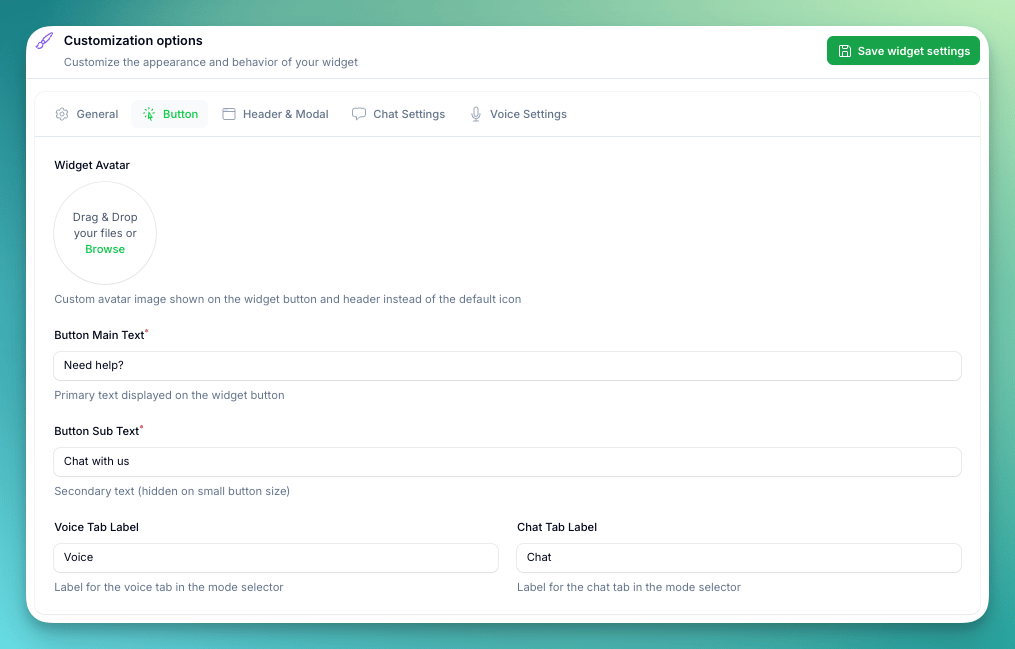
- Voice Tab Label (default: “Voice”) — rename to match your brand language (e.g., “Call Us”, “Speak”)
- Chat Tab Label (default: “Chat”) — rename to match your brand language (e.g., “Message”, “Text”)
Header & Modal Tab
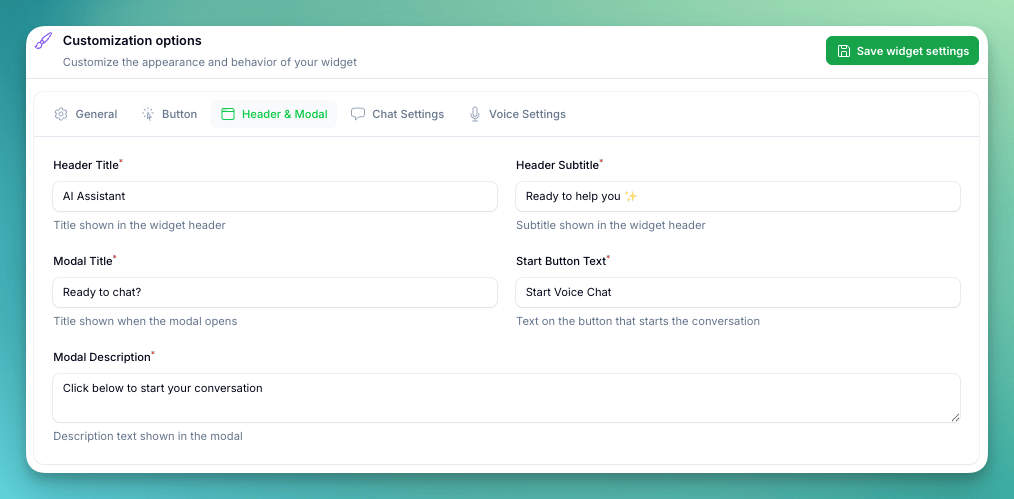
Chat Settings Tab
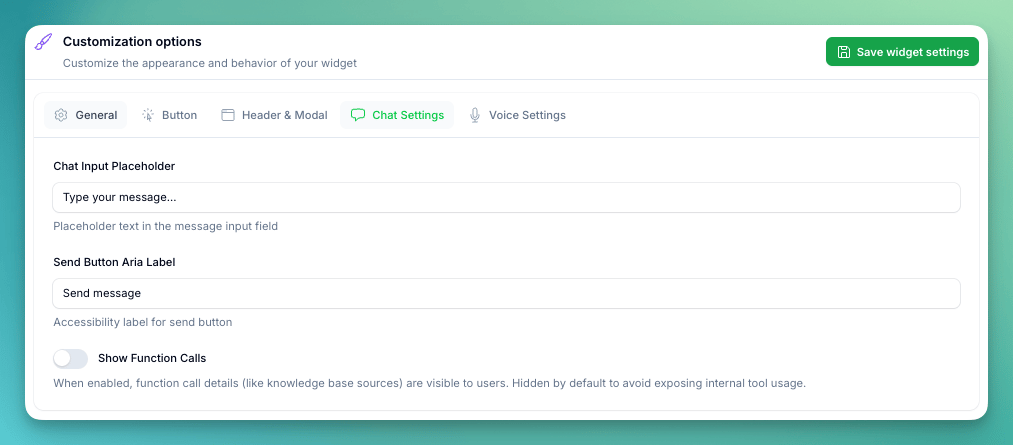
This tab is only visible when the widget mode includes chat (Chat Only or Voice & Chat).
Clickable Links in Chat
The chat widget supports markdown formatting, so your AI assistant can send clickable links, bold text, lists, and more. To include clickable URLs in chat messages, use markdown link format in your assistant’s prompt or initial message:Voice Settings Tab
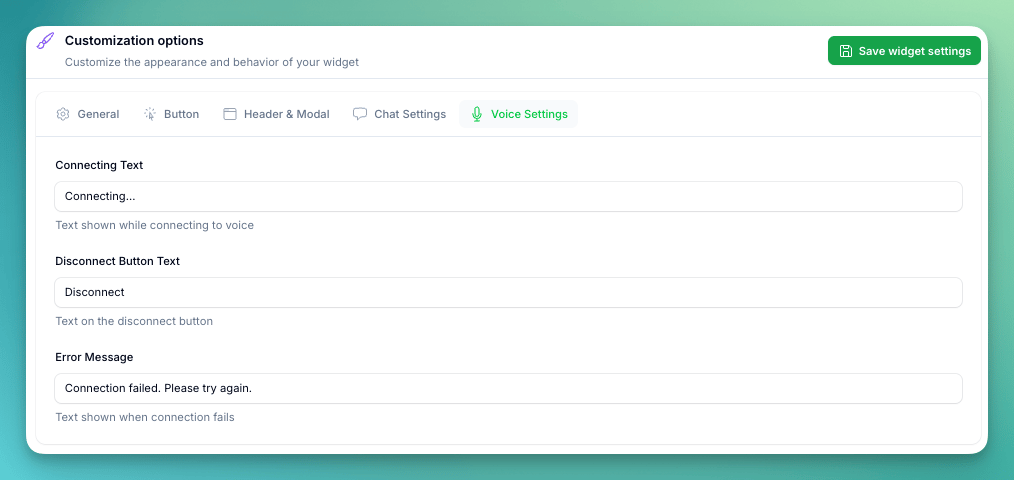
This tab is only visible when the widget mode includes voice (Voice Only or Voice & Chat).
Pre-Chat Form
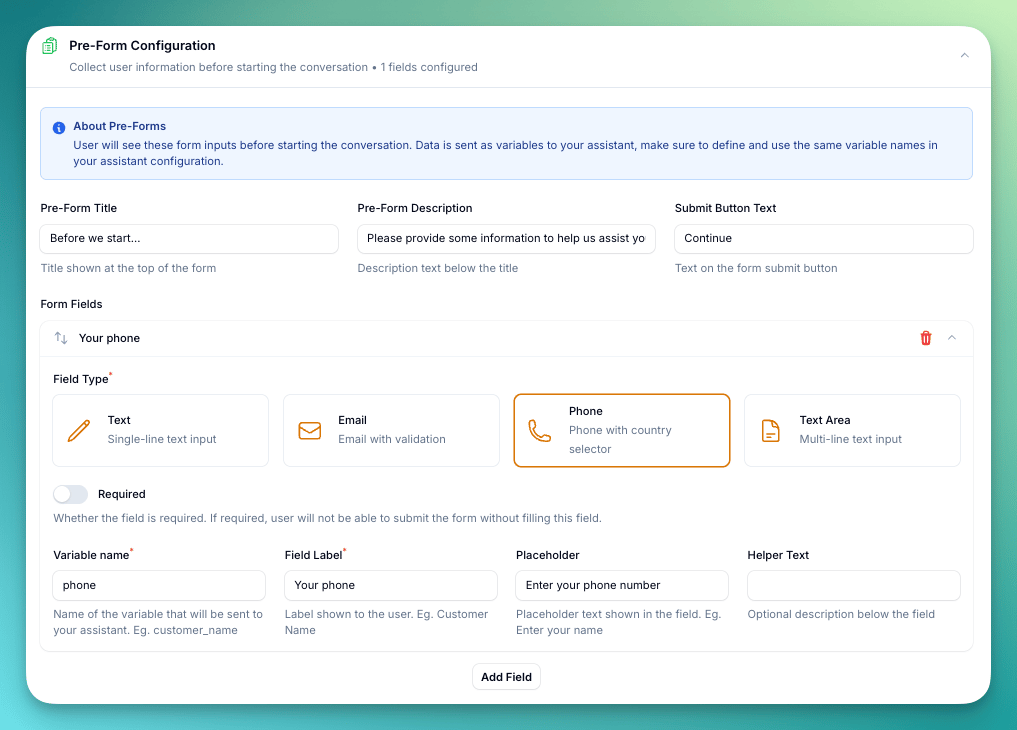
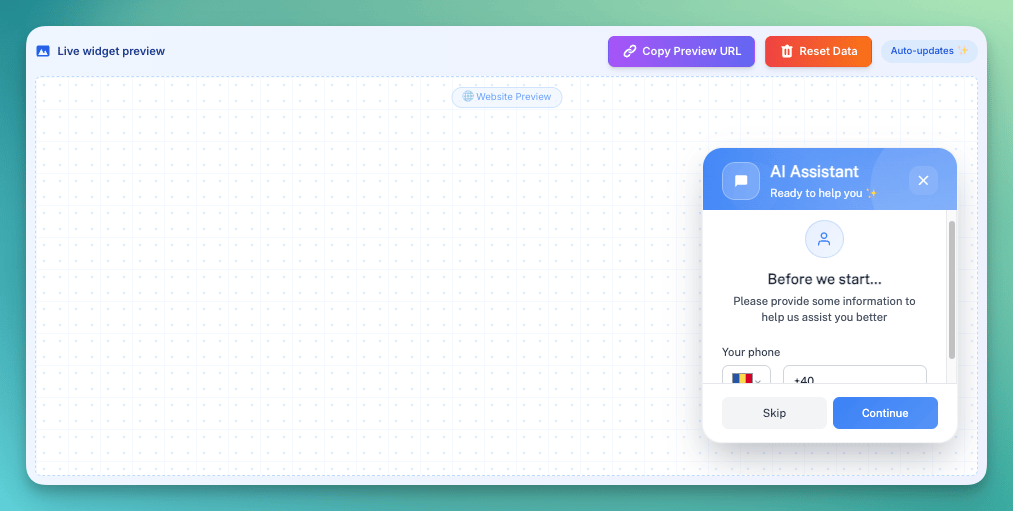
- Pre-form Title (default: “Before we start…”)
- Pre-form Description (default: “Please provide some information to help us assist you better”)
- Submit Button Text (default: “Continue”)
- Variable Name: Internal variable name (maps to assistant variables). Only letters, numbers, dashes, and underscores allowed.
- Field Label: Display label shown to users
- Field Type: Text, Email, Phone, or Textarea
- Required: Make field mandatory
- Placeholder: Placeholder text shown in the field
- Helper Text: Optional description below the field
AI Response Settings

Conversation Webhook
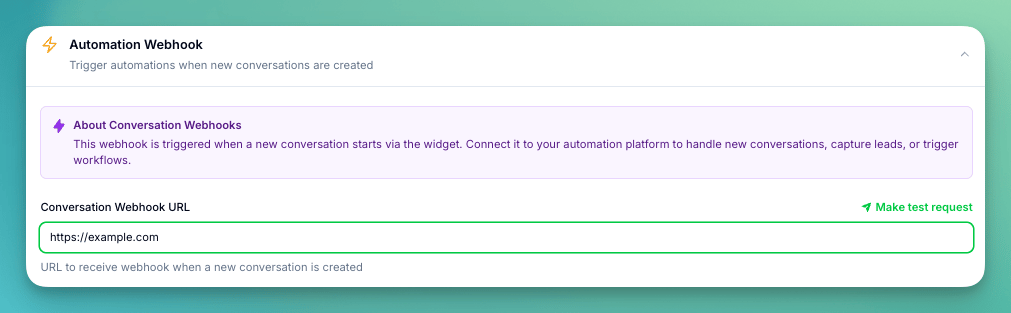
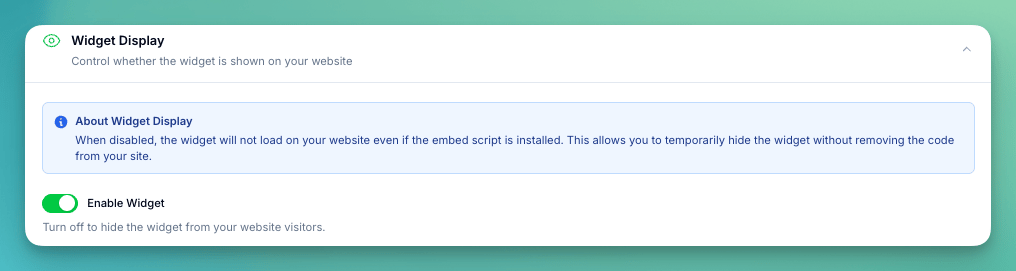
Widget Display
Live Widget Preview
Embed Code
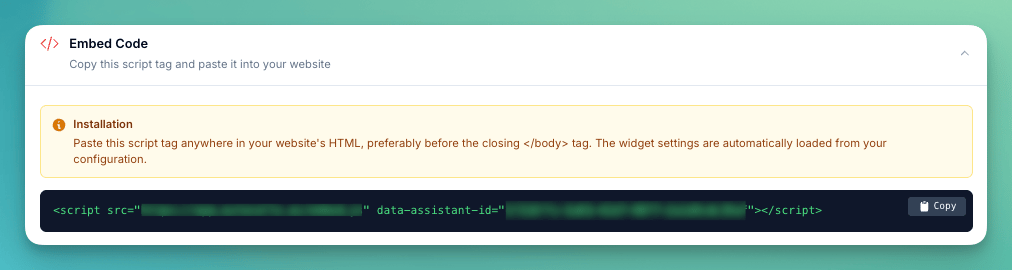
</body> tag:
Installation
- Configure and save your widget settings
- Copy the embed code from the Embed Code section
- Paste the script tag before the closing
</body>tag on your website - Visit your website and verify the widget appears in the configured position
- Test voice/chat functionality and pre-chat form (if configured)
Widget Behavior
First Visit
- Widget button appears in configured position
- Click opens modal/chat interface
- Pre-chat form displays (if configured)
- After form submission, conversation starts
Return Visits
- Previous conversation state may be restored
- Form data remembered (if visitor hasn’t cleared cookies)
- Seamless continuation of support experience
Conversation Tracking
All widget conversations appear in your Conversations page for review and analysis.Troubleshooting
For setup and configuration issues, see Web Widget Troubleshooting.Next Steps
- Test widget using the live preview
- Embed code on your website
- Monitor conversations in the Conversations page